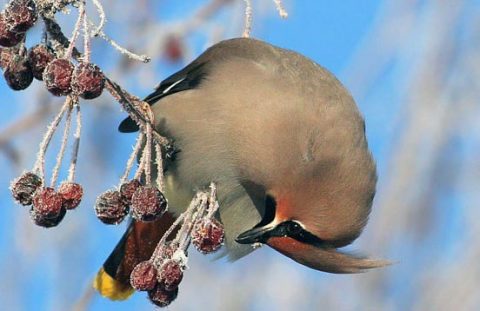
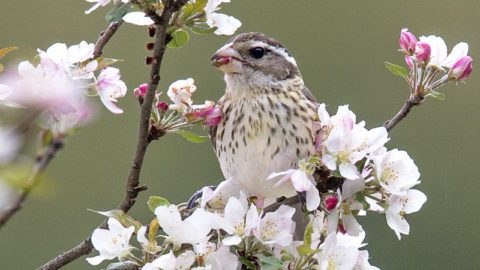
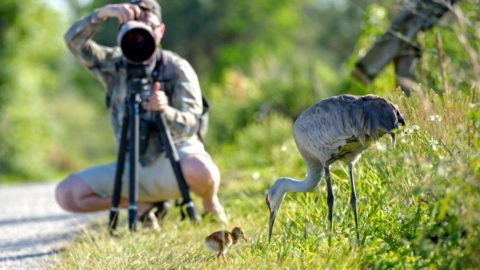
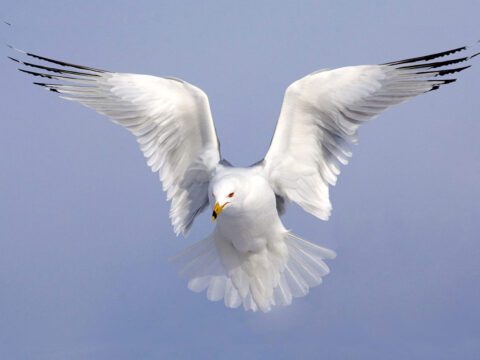
Camera Traps Are Like Candid Camera for Your Backyard Birds
Photos and Text by Carla Rhodes
December 22, 2022It's a fun new avenue for bird photography: using a "camera trap" to shoot images whenever a bird appears in your backyard—like an avian selfie photo booth.
From the Winter 2023 issue of Living Bird magazine. Subscribe now.
I’m a wildlife conservation photographer used to roaming the Catskill Mountains around my home in Upstate New York, but a couple winters ago I was rendered homebound by a persistent foot injury. I spent hours upon hours watching my backyard birds, which is fun—but I needed to try something new.
Then I happened on an idea for an experiment—connecting my camera to an infrared sensor and setting the sensor out near my bird feeder, so the birds triggered my camera’s shutter instead of me. It’s a remote photography technique called camera trapping.
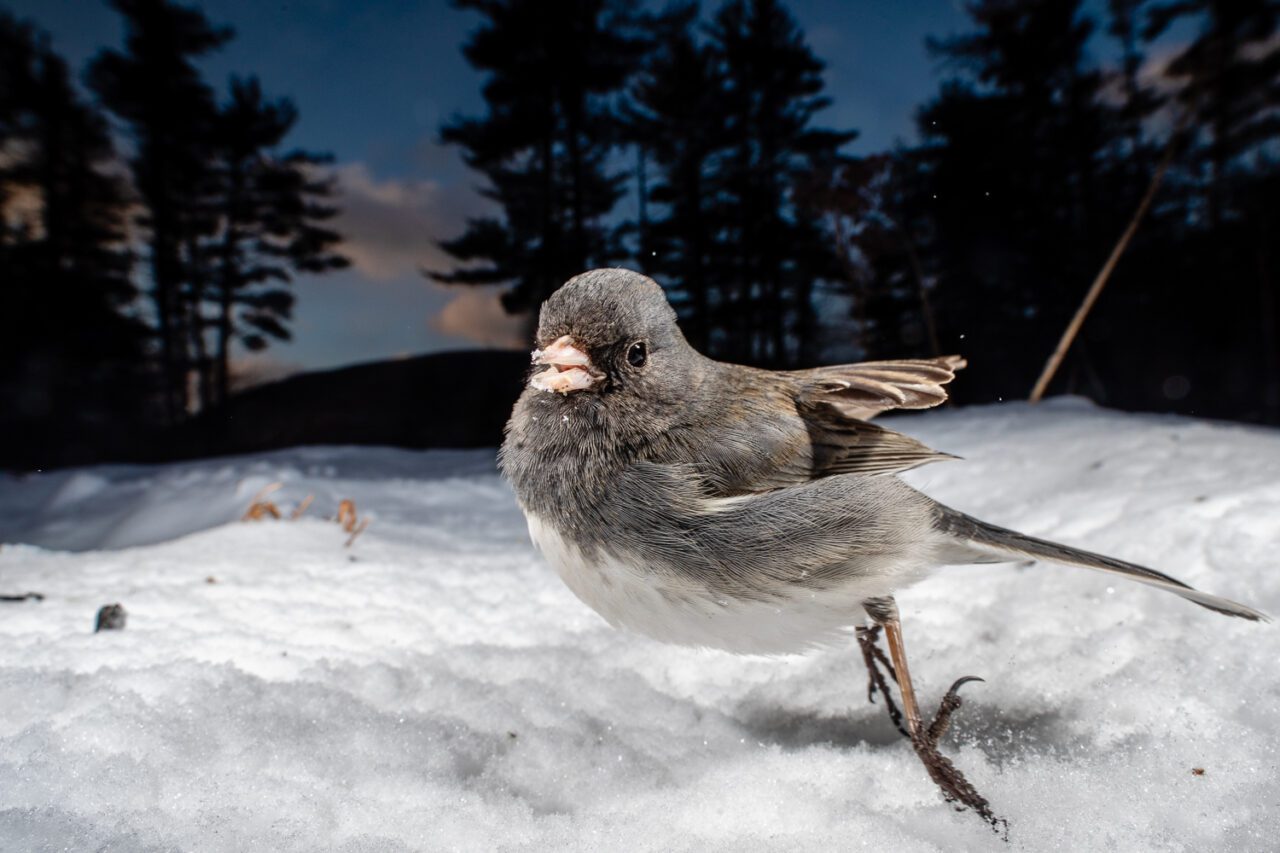
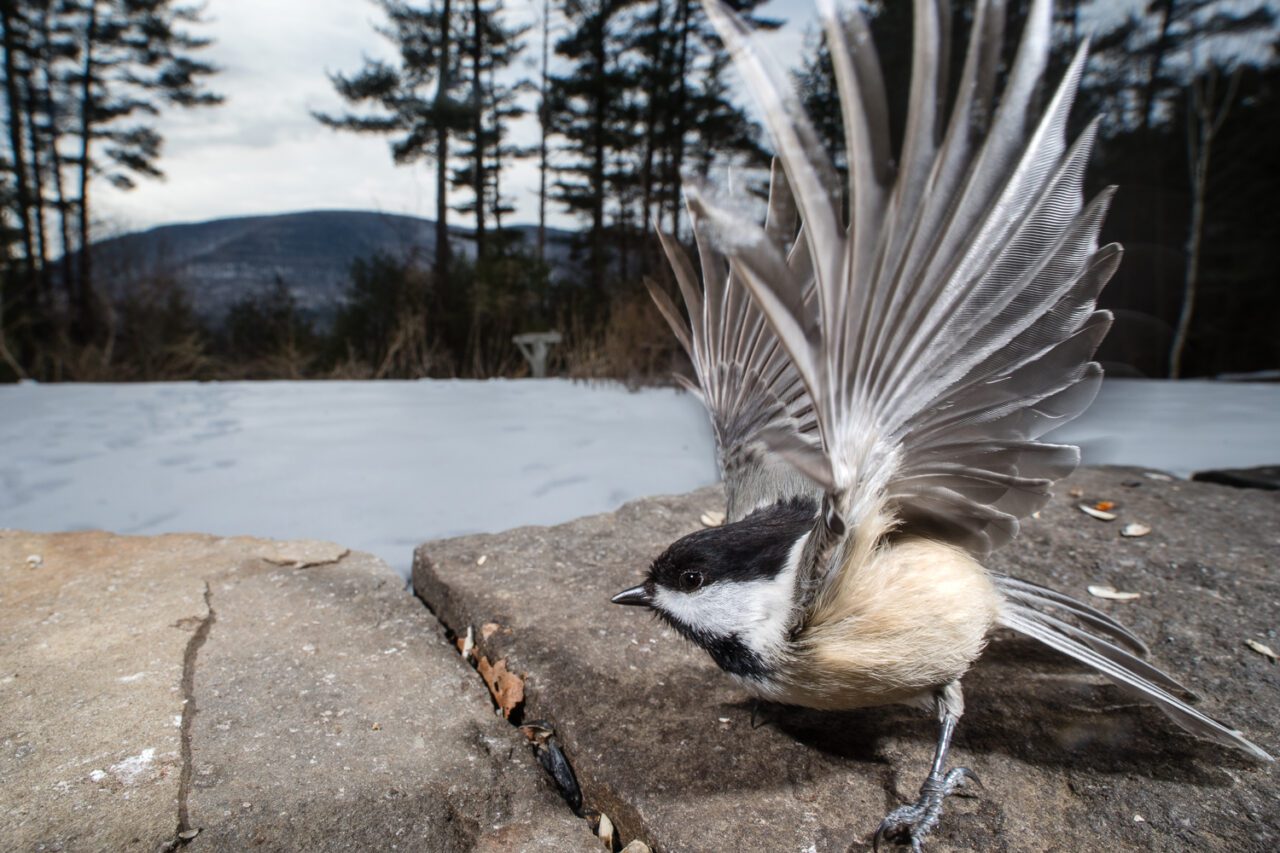
The images that came streaming in revealed some of the most unique photo compositions I’ve ever made: Towering Dark-eyed Juncos that fill the entire frame. A frost-framed close-up shot of a goldfinch. An eye-to-eye intimate staredown with a Fox Sparrow.
Even after my foot healed and I was free to roam again, I’ve continued to experiment with and refine my camera-trapping technique. I find that my camera traps get images of birds from unique perspectives and exhibiting surprising behaviors that I don’t often see in the presence of humans. And it’s an intermediate-level camera-shooting setup that’s fun to figure out. All it takes is a modern digital camera, a few camera add-ons for remote firing, and a lot of trial and error to figure out what works best for your backyard birds.
Getting Started
If you purchased your digital camera within the last 10 years, chances are you already have some basic tools for remote photography. The simplest options include setting your camera on time-lapse or using an interval timer, then setting your camera out at your feeder and hoping the birds are there when the timer goes off.
Many modern cameras can also be fired via handheld wireless remote control, or operated remotely with a smartphone app. Canon’s Camera Connect and the Nikon WirelessMobileUtility apps enable simple remote-control, timer-controlled, and time-lapse series shooting on a connected camera.
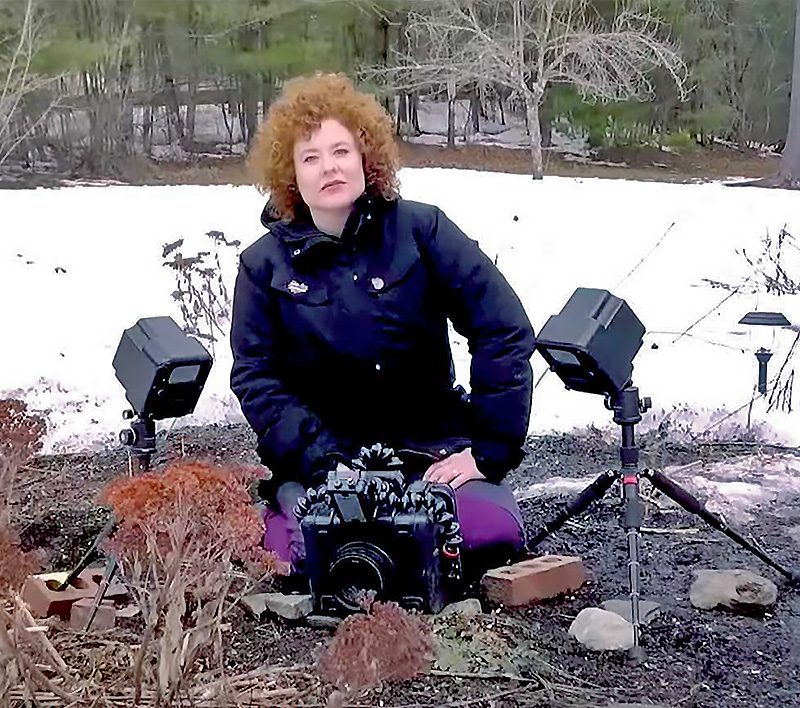
If you want to take the next step, you can build (or buy) a proper camera-trap system. A bare minimum camera-trap setup includes a camera with a port for connecting remote shutter-release equipment, a wide-angle lens that allows a broader field of view in the surrounding environment, and a passive infrared (or PIR) sensor that will trigger the camera’s shutter when it detects the body heat from an animal’s presence. There are several off-the-shelf camera-trap systems available; two of the most popular are made by Cognisys and Camtraptions.
After you have your camera-trap equipment ready to go, picking a good location is of the utmost importance. It helps to become an expert naturalist for your own immediate area. Spend time honing in on your surroundings and notice where backyard birds regularly show up—at the bird feeder or other food source such as native plants. Maybe your backyard birds have a regular perching area, or there’s a water source that attracts birds for bathing and drinking.
Feeders are great locations for a remote camera setup, as long as you aren’t disturbing your subject’s natural behavior. When setting up camera equipment under a bird-feeding station, always follow proper bird feeding protocol—keep the bird feeder and the ground below clean, and keep cats indoors.
Once your chosen system is deployed, monitor the subjects’ behaviors from a distance, maybe with binoculars from inside your house or even via separate trail cams. If you discover your setup is disturbing the birds, remove it and reassess your approach. It’s not worth making your backyard birds uncomfortable just to get a photograph.
Fine-tuning the Lighting and Camera Settings
Camera trapping ultimately offers little control over where the subject will show up in the frame, so it’s important to control what you can and increase the chances of getting a great shot. That means fine-tuning some of your camera settings and perhaps optimizing your lighting with the prudent use of flash.
Related Stories
Start off by visualizing and framing your shot in your chosen location. Set your camera body to manual mode. Since it’s hard to pinpoint exactly where your subject will appear on the focal plane, it’s key to make your depth of field as large as possible by stopping down your aperture as much as you can. Starting at f/8 is a good option. Prefocus on the spot where you anticipate your subject will appear, and then disable the autofocus on your lens—you don’t want your lens to hunt for a subject when it appears.
Most backyard birds are tiny and fast, even on the ground, so choose a shutter speed accordingly and balance it with your ISO (the camera’s sensitivity to light), exposing for daylight. The balance of shutter speed and ISO will vary given the ambient light in your backyard, so you’ll need to tinker and take test shots until you get the correct exposure. And don’t forget to shoot in RAW format rather than jpeg, which will give you greater latitude in post-processing.
I only deploy camera traps targeting birds during daylight hours, yet I often use an external flash accessory to soften up shadows and really make my subjects pop. (Using a flash at night runs the risk of disturbing my avian subjects.) Many of my favorite photo captures used an external flash set to a low power, with the flashes set above the subjects’ eye levels so they aren’t flashed directly in the eyes.
If you use an external flash, you will also need a way to connect it with your remote setup, so that the flash fires at the instant the sensor triggers the camera. The Cognisys and Camtraptions camera-trap systems offer flash accessories that can communicate wirelessly with the sensor and camera. An untethered, wireless external flash can be placed well away from the camera body—giving you freedom to move the flash as high as you want above the subject’s eyeline.
Protect, Inspect, and Tinker
Before leaving your camera-trap setup to shoot photos when you’re not around, consider the elements. Is your gear weatherproof? Is inclement weather on the way?
A simple way to protect your camera gear from moisture is to cover it with plastic bags (except for the front lens element) and secure the bags closed at the base with rubber bands or clamps. For long-term deployments, the best way to protect your gear is to place it in a protective housing, which you can purchase or make yourself. A DIY weatherproof camera enclosure involves modifying a Pelican case by cutting a circular hole in the front of the case and gluing a lens filter to the front. I use a Cognisys Scout camera box for my Cognisys camera-trap system, which is fully weatherproof and functions as a wireless control center for my camera trap’s sensor and flashes.
At the end of each day, download your photos, inspect them with an eye for what could be improved, and then try, try again. Keep adjusting your technique while learning new things, with a focus on the process, not the end result. Immersing myself in this project daily for almost four months taught me a lot about patience and experimentation.
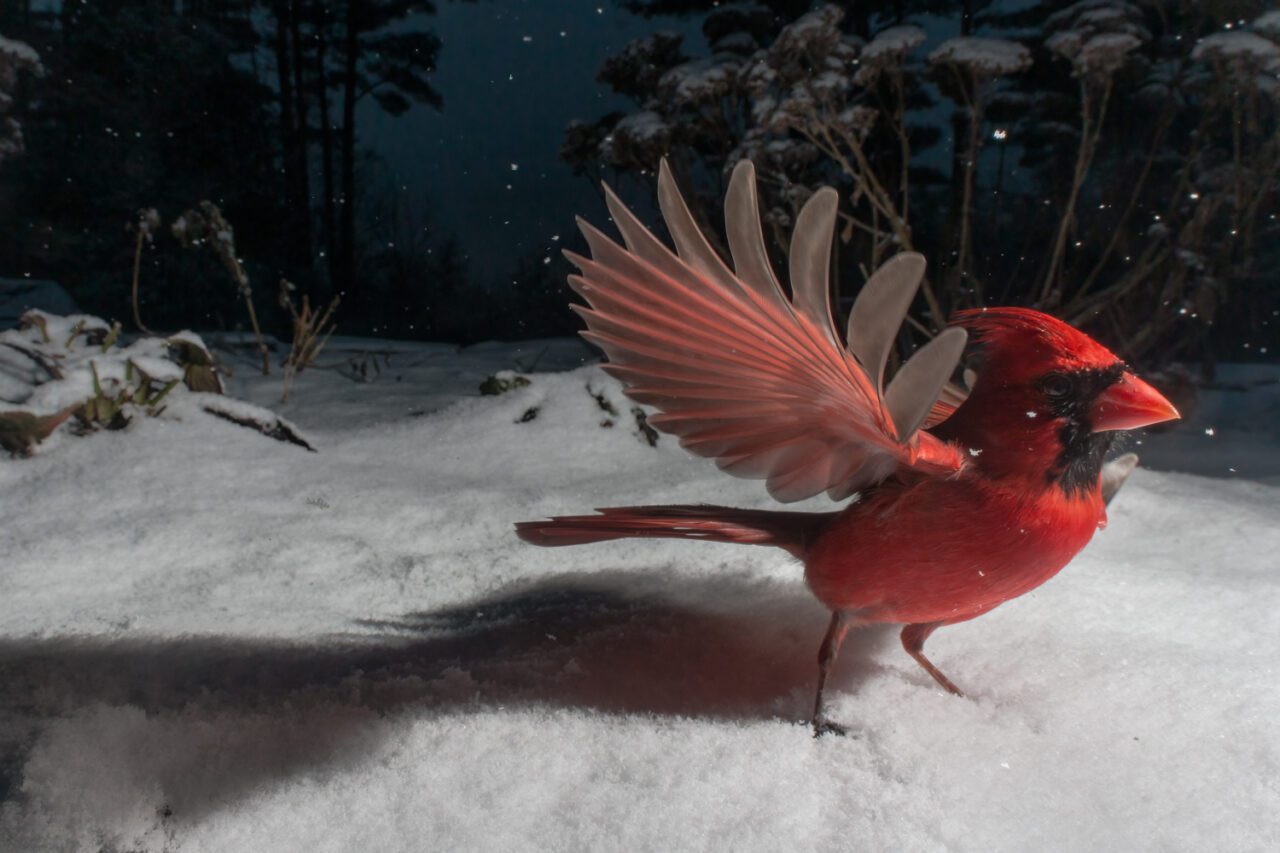
And then after so many weeks of tinkering with the settings on my camera, sensor, and external flashes, I captured one of my first keepers—an otherworldly shot of a blazing red Northern Cardinal enveloped in the snowflakes of a late-afternoon snowstorm. It was my prize for sticking with it after hundreds of missed shots. With camera trapping, the constant failure and challenge is all part of the fun.
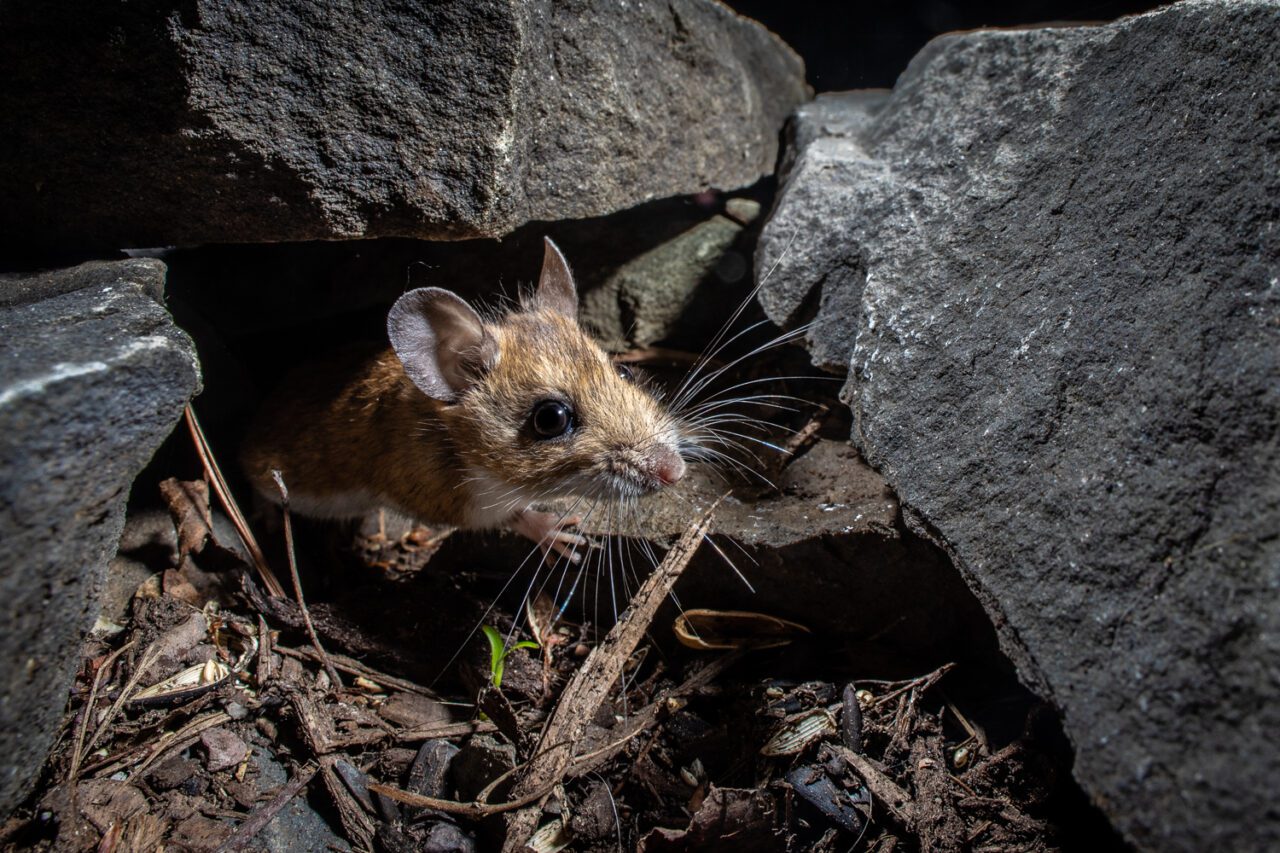
Bonus Photo Gallery: Beneath the Bird Feeder
Carla Rhodes is a wildlife conservation photographer based in the Catskill Mountains of New York. Her photography has been featured in publications including Audubon and Smithsonian. Check out her website to learn more about her work, including her project Beneath the Bird Feeder.

All About Birds
is a free resource
Available for everyone,
funded by donors like you
American Kestrel by Blair Dudeck / Macaulay Library
