

How to Photograph Birds in Flight
One of the most challenging photography skills is capturing birds in flight. Cornell Lab photographer Gerrit Vyn is here to help with a full set of tips on capturing split-second flight shots.
By Gerrit Vyn
May 4, 2020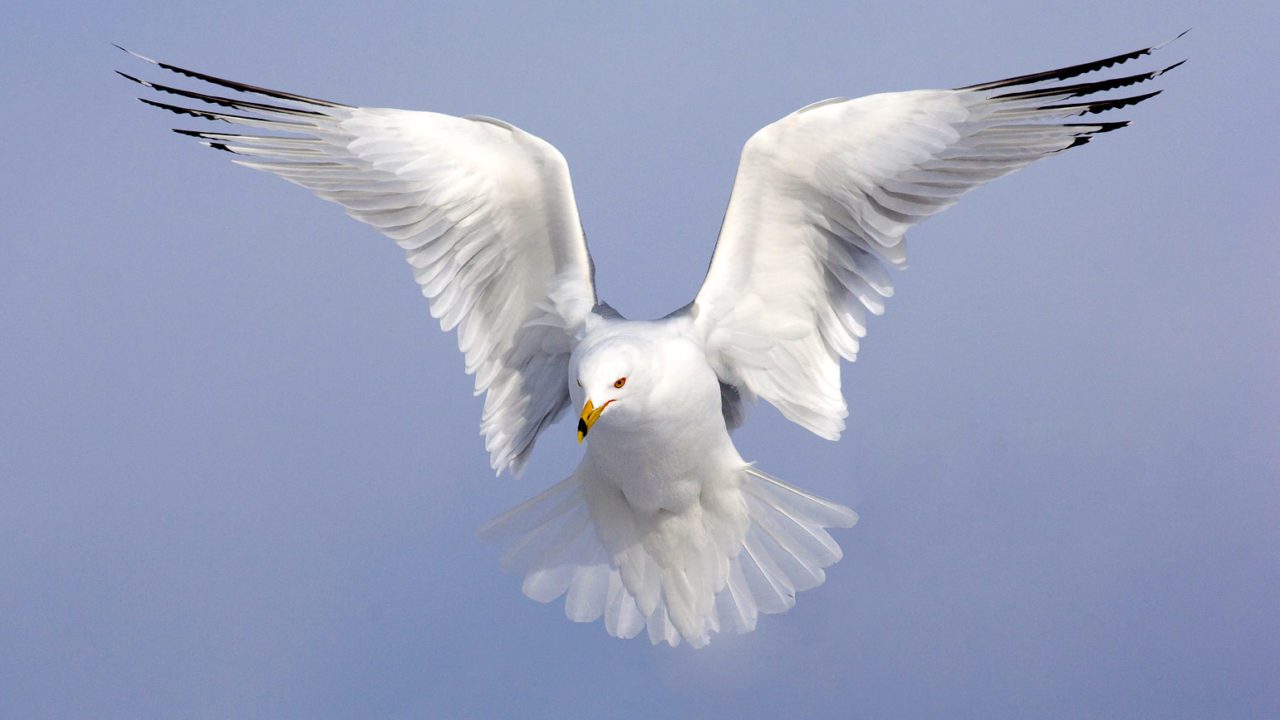

From the Summer 2021 issue of Living Bird magazine. Subscribe now.
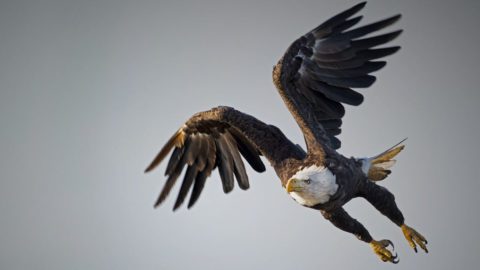
Successfully shooting birds in flight is rewarding and exciting, but it takes a lot of patience and there is no single surefire approach to it. If every bird in flight were a slow-flying, high-contrast Osprey against a clear blue sky, the task would be easier. But try photographing a puffin flying 50 mph against a dark cliff in flat light! Camera and lens capabilities, birds’ flight styles and speeds, plumage effects on autofocus performance, quality of light, and variable backgrounds—all of these factors and more can make photographing birds in flight challenging and frustrating. But don’t despair! Try these tips and best practices—they’ll get you started photographing birds in flight.
First, Set Up Your Shot
Put the Wind and Sun at Your Back: If you are going out specifically to shoot flight, try to do so at a time and location when you have both the wind and sun somewhere at your back. Birds generally fly into the wind, and when they are flying toward you at an angle, they are in the best position for pleasing flight images: underwings showing and their heads in the lead. Birds fly much slower into the wind, which makes them easier to track, and having the sun at your back illuminates them nicely.

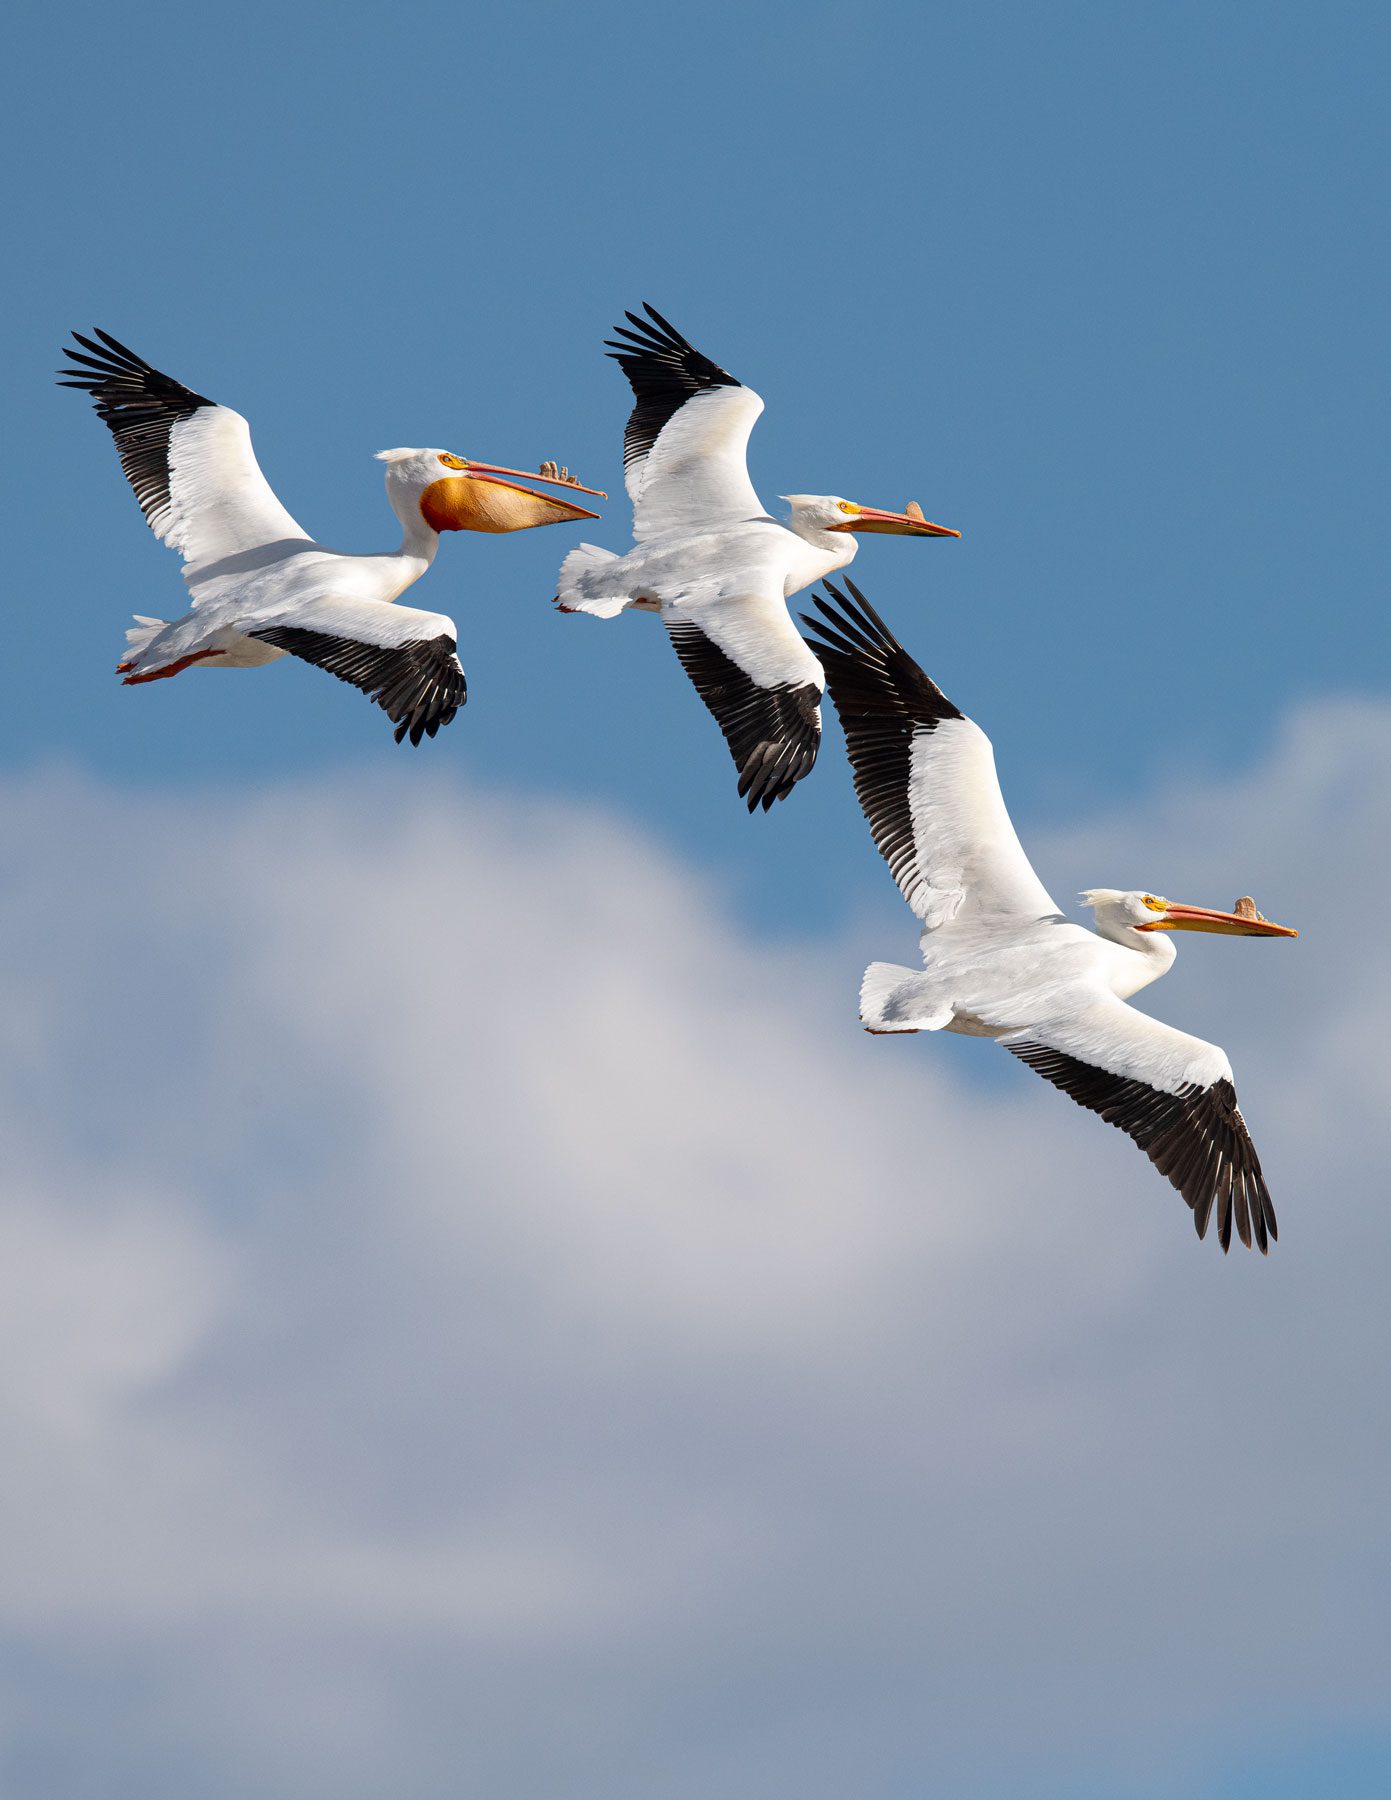
Identify Predictable Flight Paths: Using your knowledge of bird behavior, identify places where birds fly, preferably in good numbers, giving you many opportunities to practice and make the perfect image. Flight photography is often a numbers game, so the more shots you can get off, the better. Is there a particular spot the Brown Pelicans or Canada Geese always fly over on their way to roost every evening? Is there a ridgeline that hawks follow during fall migration?
Shoot Against Clean Backgrounds: Your autofocus system will perform best when you shoot against a clean background with little contrast, like the sky or still water. If this isn’t an option, remember that the farther away the background is, the better. A distant forest is much better than trees right behind the bird.

Next, Sort Out Your Camera Settings
Focus with the Shutter Release: Though I recommend back-button focusing for most situations, don’t use it for dedicated flight photography. Because you will be continuously focusing when shooting birds in flight, it will be more comfortable for your hands to half press the shutter button for focus and fully press to release the shutter, rather than having to hold two buttons at once.
Use the Focus Limiter: Set your focus limiter so that it ignores close objects. This can help your autofocus system work faster, as it can ignore part of your lens’s range.

Turn Image Stabilization Off: When shooting flight, you will be using shutter speeds that negate any need for image stabilization. Having it on may make it harder to track subjects and may slow lens performance.
Preselect Camera Settings: In most cases, shoot flight in Manual exposure mode and set your aperture and shutter speed ahead of time. Usually this means shooting wide open at the lens’s maximum aperture and using an ISO that allows for an optimal shutter speed. Your shutter speed should be quite fast—1/2500, 1/3200, or even higher if light allows. If there is not enough light or you are shooting slower subjects, drop down to 1/1600 or 1/1250 if necessary, though you’ll have to accept that you may have a lower percentage of sharp images. If you are able to use optimal shutter speed and there is more light to spare, try closing your aperture from wide open to f/5.6 or f/8 for more depth of field and a better chance of getting all of the crucial parts of the bird in focus—the head, body, and forewing. Also set your camera to the highest frame rate.
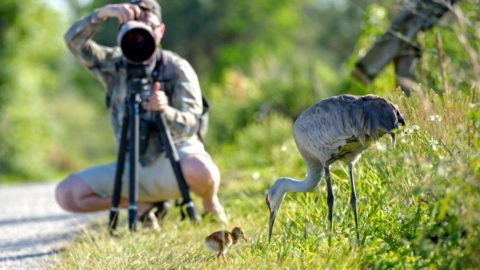
In even lighting conditions, shooting in Manual means the background in your photos can change and the exposure on the bird will not. Imagine you are shooting a Sandhill Crane flying across some farmland, and the background changes from open sky to a shaded forest. In one of the automatic exposure modes, this would throw your exposure off and may also dip your shutter speed to an unacceptable level. If your exposure is set in Manual, nothing changes and the bird will remain properly exposed against any background as long as the bird remains in the same light.
When shooting birds against a white or very light sky, consider using the sky as the basis for your exposure and make it as light as you can without overexposing any parts of the bird. I commonly meter the sky and open up 2 or 2 1/3 stops.
Select Your Autofocus Settings: For birds that are larger in the frame, use a single autofocus point so you can put it exactly where you want it on the bird. When that is too difficult, switch to one of the camera’s focus point patterns. On Nikon cameras, Group-Area AF (GrP) is a great all-around setting for birds in flight. On Canon cameras, I expand beyond a single autofocus point to a 9-point pattern or use Zone AF.
An additional tweak on current Canon cameras is to customize the autofocus settings. I recommend creating a custom setting for birds in flight: set tracking sensitivity to –2 (–1 or 0 can be better against clean backgrounds), Accel/Decel Tracking to +2, and AF Pt Auto Switching to +2.
If you have trouble staying locked onto subjects, especially subjects flying against busy backgrounds, the most useful parameter to play with is Tracking Sensitivity (called Blocked Shot AF Response on Nikon cameras). The busier and more problematic the background, the lower (more delayed) you should set your AF Tracking Sensitivity.

More Photography Advice
Finally, Keep the Bird in Frame and in Focus as You Shoot
Prefocus: When you can, prefocus your lens to a distance within the range of where you expect to pick up the flying bird—otherwise it will be difficult to see your target in the viewfinder, and autofocus will struggle to find it quickly on its own. To prefocus, point the camera at some vegetation or the ground at roughly the distance you estimate you will pick up the bird, and set focus there. Then raise the camera and wait for the bird to come into range before activating autofocus.
Flip up the Lens Foot: Flip your lens foot into the up position, if it has one, so you can cradle the lens and not the lens foot with your hand.
Follow with Your Whole Body: Use an athletic stance with legs spread a bit and knees slightly bent. Grip the camera firmly with the right hand, extend the left hand as far as comfortable to support the lens, tuck your elbows into your body, and follow the bird with your body rather than your arms or head.
About the Author
Gerrit Vyn is a cinematographer and producer in the Cornell Lab’s Center for Conservation Media and is a Senior Fellow at the International League of Conservation Photographers. Follow Gerrit on Instagram @gerritvyn and on his photography website.
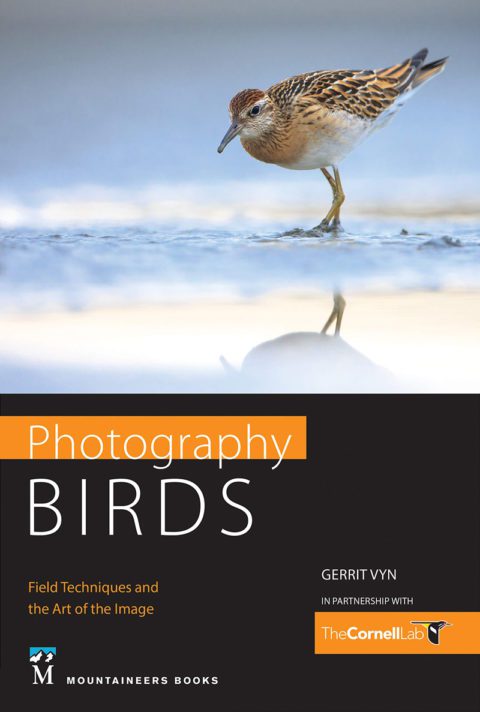
This post is excerpted from Photography Birds: Field Techniques and the Art of the Image, published by Mountaineers Books in April 2020. Vyn’s previous book, The Living Bird, won the National Outdoor Book Award.
Bump Focus: Once you have an approaching bird in the viewfinder, you have a better chance of tracking focus successfully if you “bump focus.” When you bump focus, you do not hold the autofocus button (whether it is the rear button or your shutter button) continuously as you track the subject. Instead, you press it intermittently as your subject approaches so that you are keeping the bird almost in focus. Doing this minimizes the chance that your focus point will fall off the subject and focus somewhere else entirely. Wait until the bird is in range, then fully press and hold the focus button.
Fire and Follow Through: It is easy to lose your subject when you start firing the shutter. Try to ignore everything else except keeping the subject in the frame and following through.
Practice: It takes a great deal of practice to become proficient at flight photography. Find opportunities to practice when you can on common subjects near home, whether they are images you want or not. Practicing gives you the opportunity not only to hone your technique but to become familiar with different autofocus settings, focus points and patterns, and what results you can get with them.
All About Birds
is a free resource
Available for everyone,
funded by donors like you
American Kestrel by Blair Dudeck / Macaulay Library