

How to Photograph Fidgety Warblers
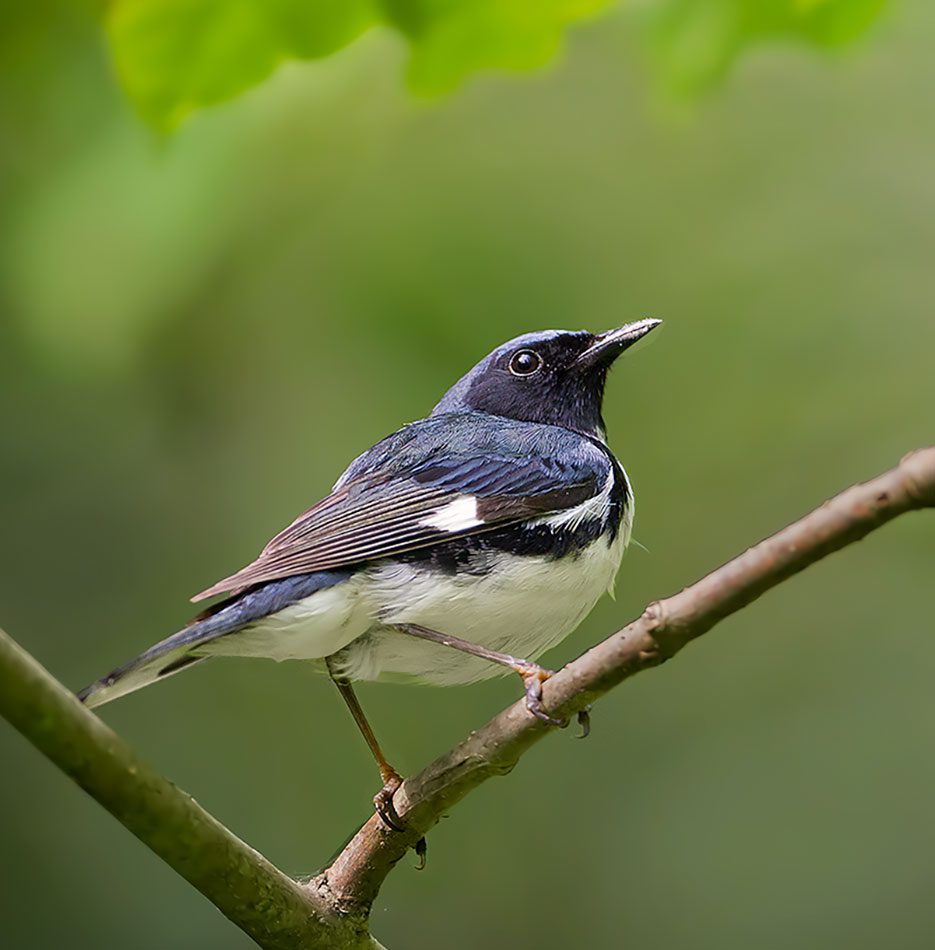
Bright and cheery warblers are great photo subjects, if only they would sit still for a second. The trick is to put yourself in the right place, at the right time, with the right camera settings.
June 28, 2023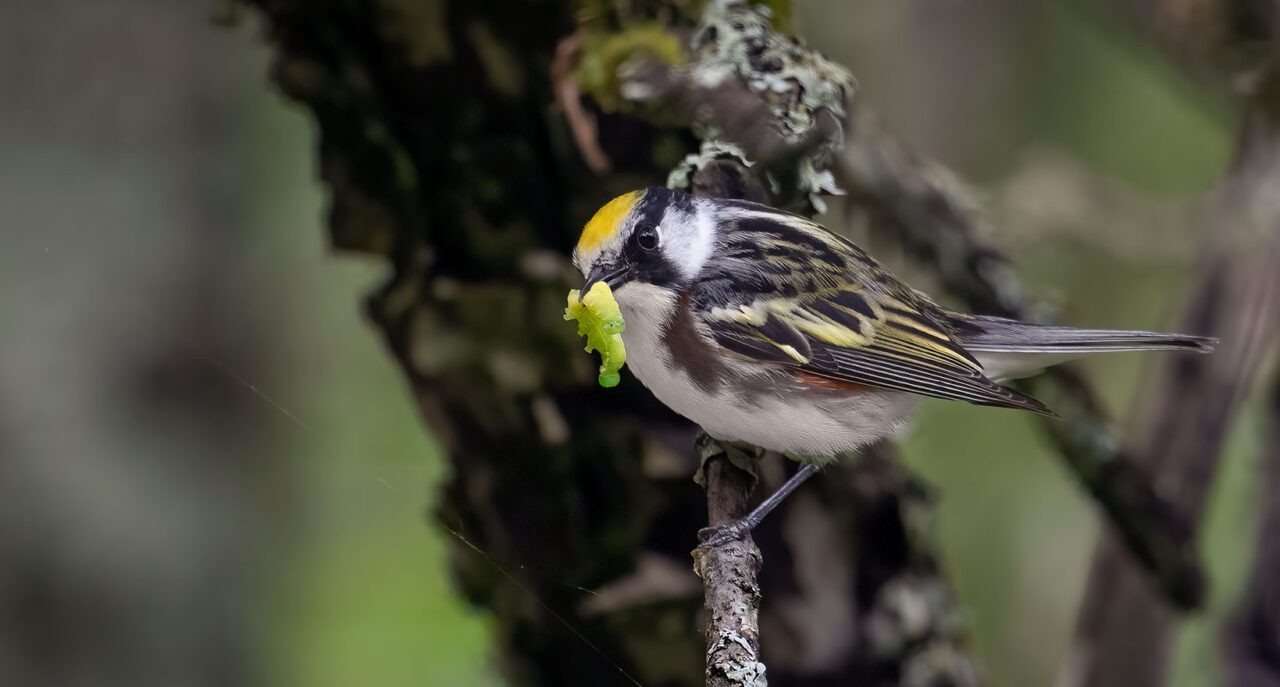

From the Summer 2023 issue of Living Bird magazine. Subscribe now.
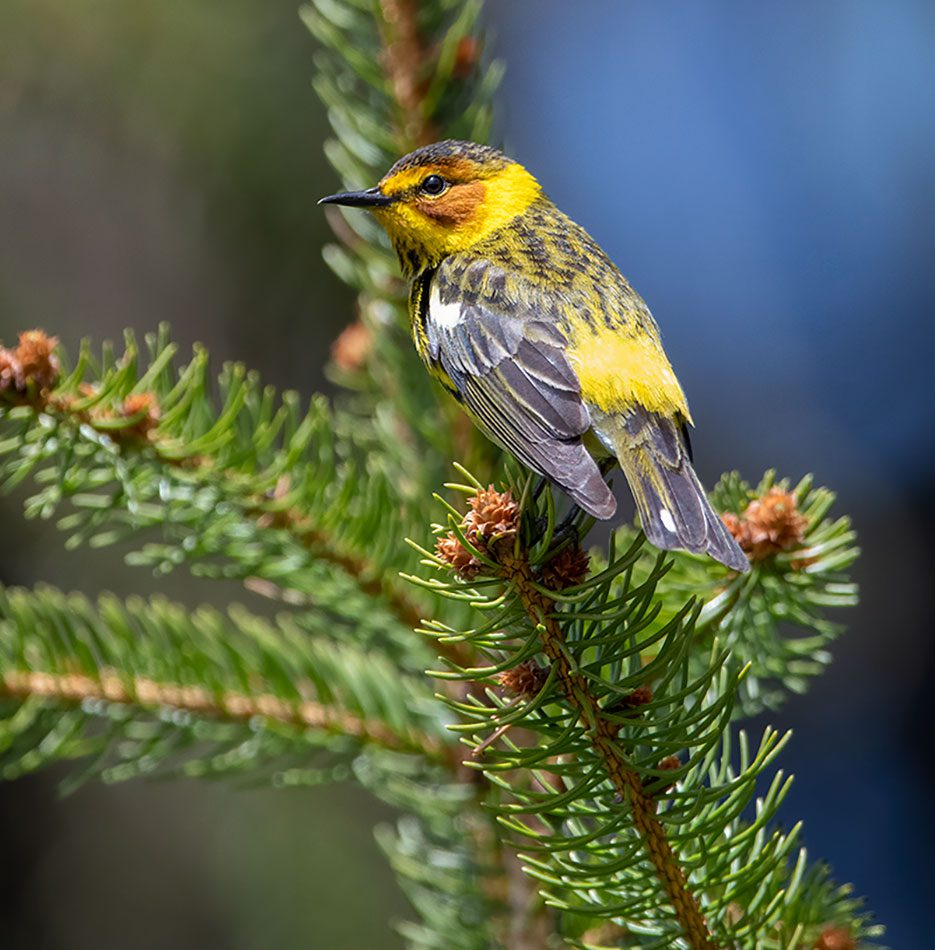
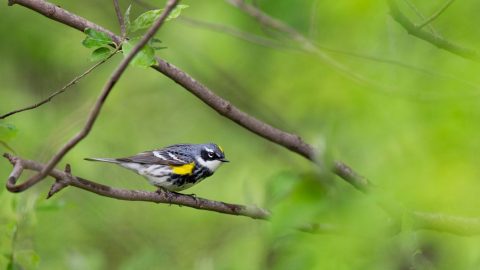
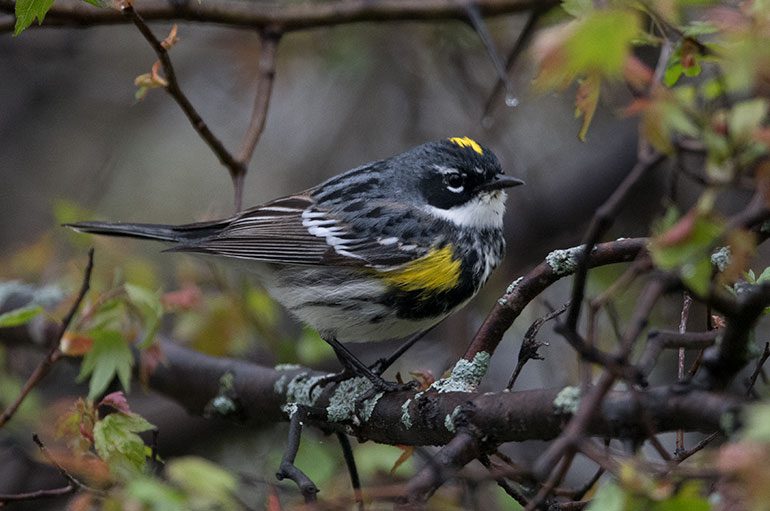
While warblers are prime targets for bird photographers, their habits make them devilishly hard to photograph.
Tiny and constantly on the move, they’re often at the tops of trees. Even while foraging low, they have a predilection for dodging behind leaves and twigs.
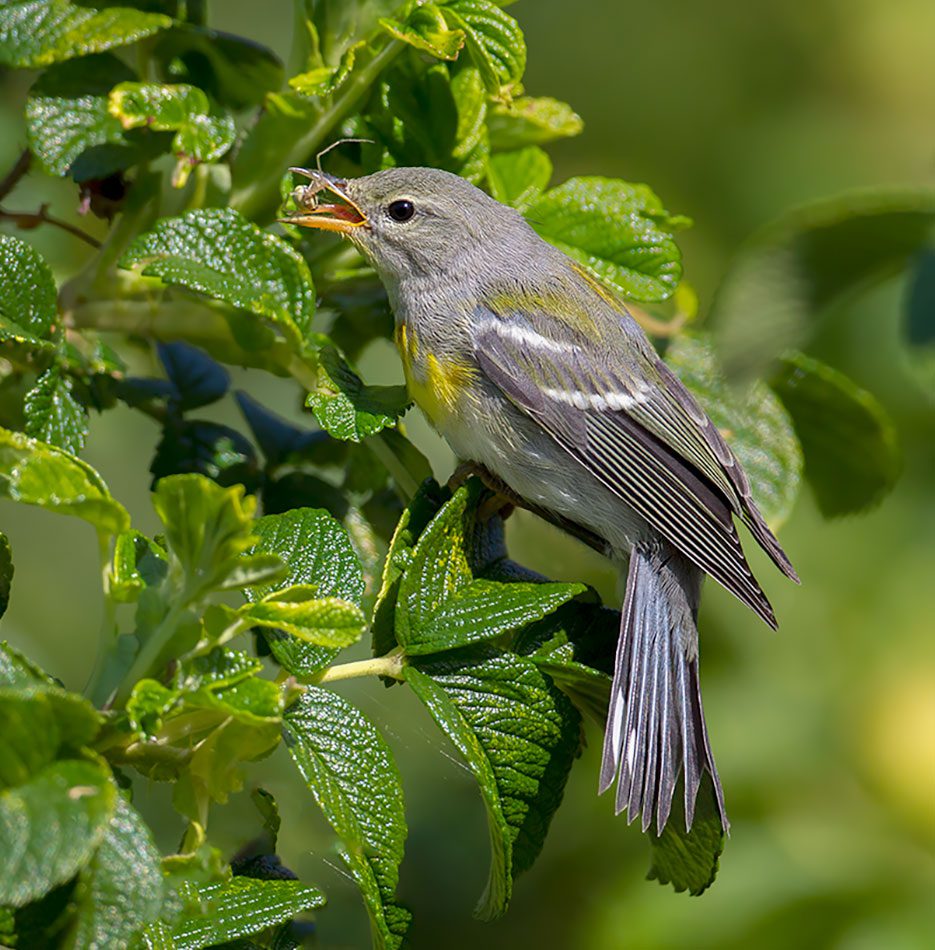
Why are these birds so frenetic and fidgety? Their preferred prey may provide the answer. Birds are evolved to forage in a particular way: flycatchers hunt insects on the wing, while woodpeckers probe the bark of trees. As for warblers, most are adapted to hunt insects that they don’t have to probe for or fly to.
“So stuff that’s on the surface they can see,” says ornithologist Kevin McGowan in describing the foraging strategy of warblers. McGowan—who authored a course on warbler identification for the Cornell Lab of Ornithology’s Bird Academy—says many species of warblers are looking for the motion of wriggling caterpillars or scuttling beetles to find their food. “[Warblers] are constantly moving to find the [prey] that’s out and about. And they need to keep on the move to find them.”
There’s no question that trying to make a crisp, clear photo of these peripatetic little birds can test the mettle of even the most laid-back bird photographer. But it’s precisely these challenges that make getting a good shot of a warbler all the more rewarding when things come together. With a few pro tips, you can put yourself in the right place, at the right time—and with the right camera settings—to give yourself a fighting chance against a buzzing, dodging, darting warbler.
tricks of the Trade
Finding Photo-Friendly Warblers
In most places warblers tend to be skittish, but in other spots warblers may be more accepting of human presence. Suburban and urban parks, botanical gardens, and recreation trails can be places where birds are used to people on foot, and their tolerance yields a decent chance of close-range photographic opportunities.
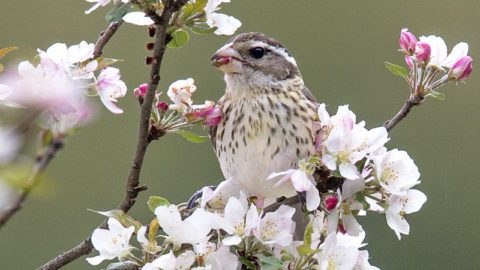
Wherever you go, look for warblers where one habitat meets another, such as a forest edge; in flowering trees like crabapples; and near water sources like forest streams. Most importantly—get out and be ready at dawn. Birds are most active first thing in the morning, either singing lustily to proclaim a territory or busily feeding, not having eaten all night. When warblers are focused on foraging, they may take less notice of you.
Happily, the light at sunrise and for the first couple of hours on a sunny day can also make for beautiful photos. A bright overcast day provides good lighting as well, because the diffuse soft light through the clouds means you can shoot all day long. (Note that a bright overcast day is different from a dark overcast day, which will result in dreary photos.)
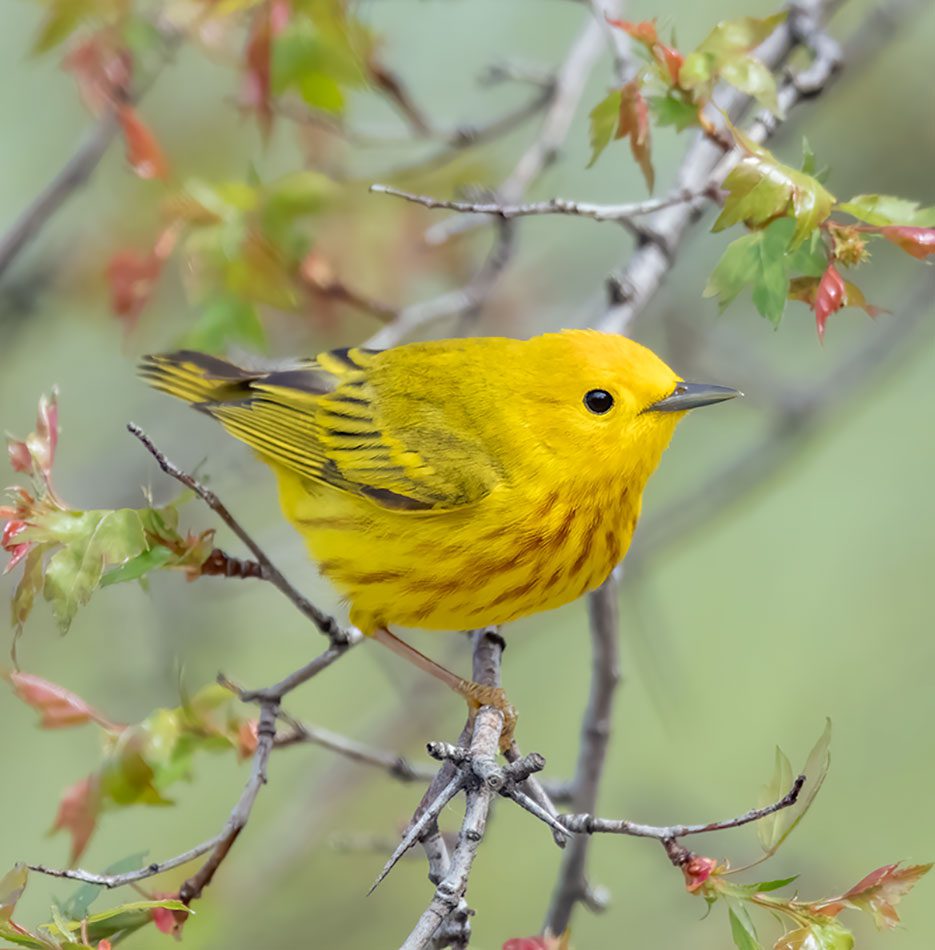
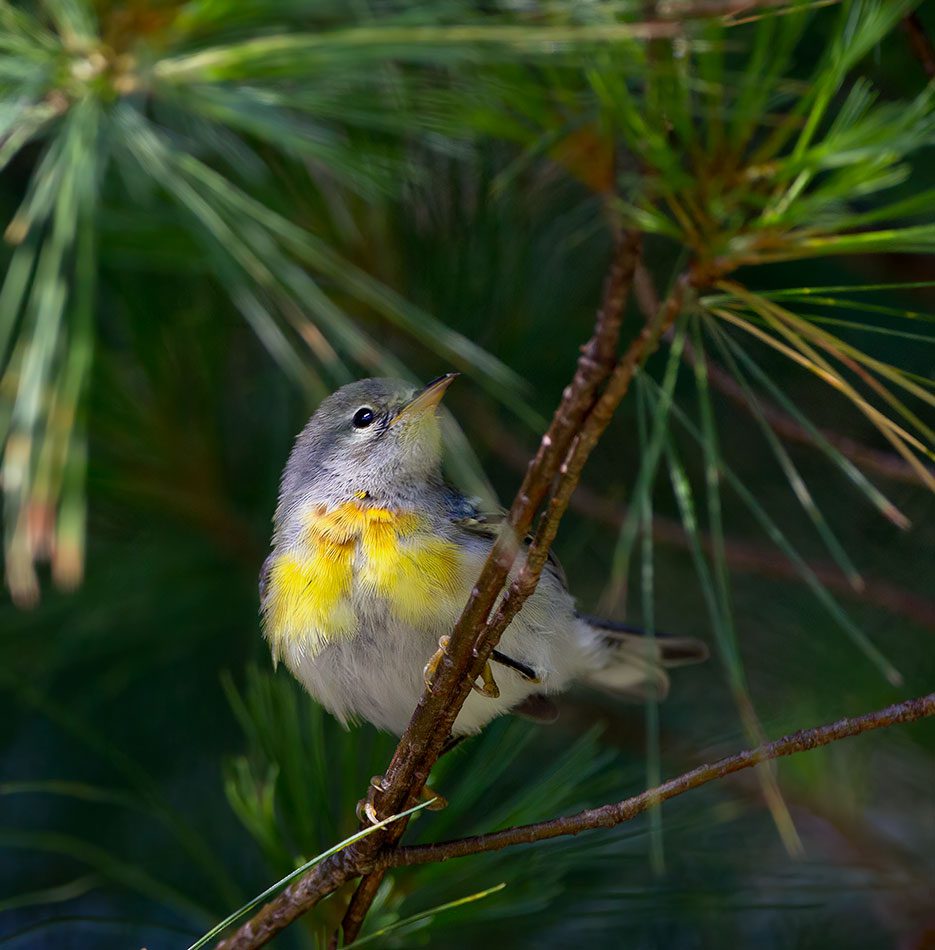
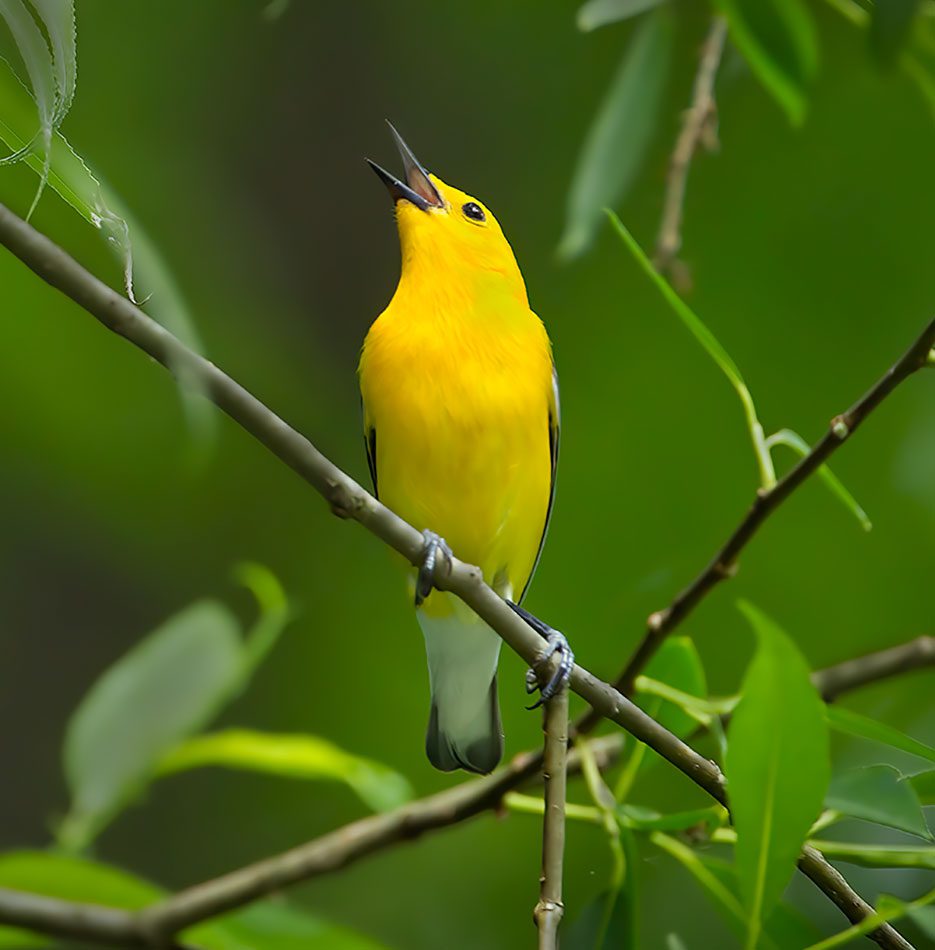
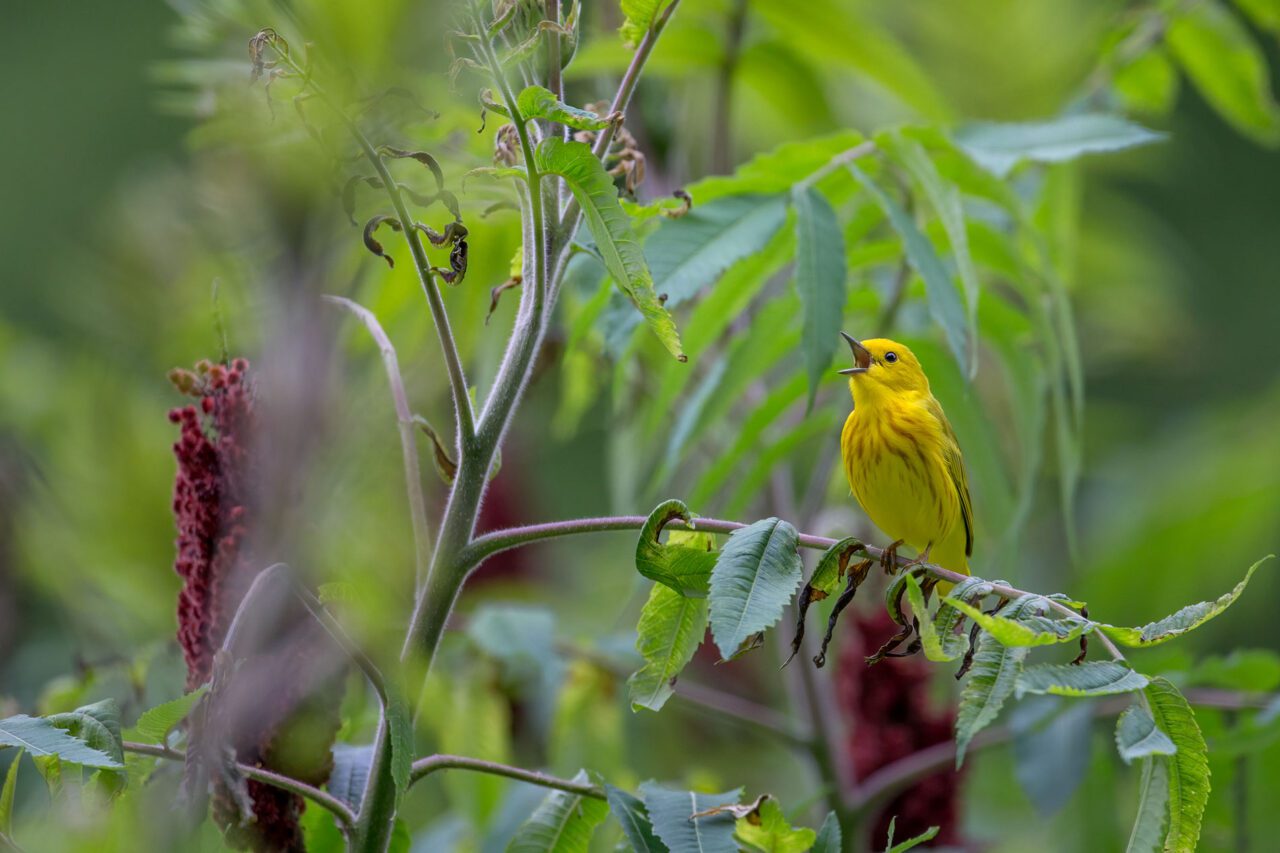
For optimum lighting, position yourself between the sun and the bird, with your shadow pointing at the subject. If out at first light, work along the east-facing edge of trees, so the sun shines directly on your subjects. You should also try to use any trees and bushes around you to minimize or conceal your body from the warbler’s view (so as not to spook it). Try to be in a position where your lens is on a similar level as your subject (not pointed high in the treetops above you). Look for vantage points that elevate you for better views into the tops of trees—maybe a tall hill, a roadway over a gorge, or a high wooden platform in a nature preserve. If you’re on the ground, look for the warbler species that tend to stay low in the forest, such as Common Yellowthroat, Palm Warbler, Yellow Warbler, and Prothonotary Warbler.
Optimal lighting conditions
Professional bird photographers choose the optimal days—and times of day—for catching the best light to create images of warblers. Optimal lighting conditions, when there’s enough light to illuminate a subject but not so much light that it gets overexposed, often occur at dawn and dusk, on cloudy but bright days, and in areas where sunlight splashes through a covered tree canopy.
Get the Right Camera and Lens for Shooting Warblers
Some cameras are simply better suited to warbler photography than others. Mirrorless cameras in particular are a great choice because they allow light to pass through the lens directly onto the sensor. Mirrorless cameras typically are lighter and smaller than DSLRs, boast a higher frame rate, and allow you to see your exposure in real time. They also feature an electronic silent shutter, which is much less disruptive to birds than the loud shutter of a DSLR.
If you’re picking a camera for warbler photography, a high frames-per-second (fps) rate is crucial—at least 20 fps. Look for a camera that features an excellent autofocus system. All the better if it features “bird-eye autofocus,” which means the system is able to detect and remain on a bird’s eye, even as the bird moves. More and more cameras, like the Canon EOS R5 and the Sony Alpha 7R IV, are featuring this capability.
It’s also important to pick a camera that can produce large-size photo files, since you may want to crop your photo to blow up the size of warblers that appear too small in your original photo frame. Try for a camera that can shoot at least 20-megapixel photos. And remember to always shoot in RAW file format, which will allow you to dial up the exposure if you use photo-editing software (more on this later). Having the greater latitude with exposure in RAW files over JPEGs is crucial if you photograph birds in shade.
Another key piece of hardware for photographing warblers will be your camera lens. Put simply, small birds require long lenses. You’ll want a fixed or zoom lens of at least 400 mm and, if one is available for your lens, a teleconverter. Sometimes referred to as an extender, a teleconverter is basically a magnifying lens placed between your camera and lens. A 400 mm, paired with a 1.4x teleconverter, will net you 560 mm in total lens length.
Don’t underestimate the importance of a light lens weight. It’s much easier to photograph warblers while holding your gear, so look for a lens you can comfortably wield. Consider borrowing a lens from a company like lensrentals.com to test it out for a few days before you commit to a purchase.
For the best warbler photography, a fast lens—that is, a lens with a wide maximum aperture like f/4—can make a big difference. In simple terms, the more an aperture can open, the more light it lets in; the more light you have, the higher you can set your shutter speed. It’s a bit of a trade-off when opting for a fast lens, as they weigh more, but as technology advances, this issue is diminishing.
Put Your Camera Settings Into Warbler Mode
The various settings on a new camera can seem puzzling and overwhelming, but a few quick adjustments to the focus, speed, and aperture settings can put your camera into warbler mode.
Related Stories
Setting your camera to continuous autofocus mode will ensure it constantly tracks what its autofocus has locked onto, and using single-point focus is usually the best way to ensure you keep your focus on the bird and not the surrounding vegetation. To take numerous photos sequentially without stopping—giving you multiple snapshots for the best chance of one photo that captures a warbler with its head tilted just right—you should set your burst rate to the maximum. The burst rate is the number of consecutive images that your camera can shoot before the buffer is full. A fast memory card plays an essential role, too—that is, a memory card with a fast write speed, able to quickly write information onto the card without buffering. Look for cards that have a write speed of at least 260 MB/s.
When setting your camera’s light sensitivity, Auto ISO allows the camera to decide ISO levels for you, while you set shutter speed and aperture. Simply set the minimum and maximum ISO levels you want to work within—try a lower limit of ISO 100, and an upper limit of 6400 as a starting point.
Because warblers move constantly and quickly, you’ll want to use the highest shutter speed you can, given the available light. A shutter speed of at least 1/1600 sec will allow you to capture the moment a warbler lifts its wings to fly, or thwacks a caterpillar against a branch to stun it. When light is ample, bring shutter speed up to even 1/3200 or 1/4000 sec. In darker conditions, try not to drop below about 1/500 sec.
As for setting the brightness of your camera’s images, the use of a wide aperture like f/4 or f/5.6 really helps your bird pop from the background. A wide aperture creates a shallow depth of field, rendering everything behind and in front of the bird out of focus. Using a wide aperture is most successful when your subject has a little distance from the vegetation behind it, but that can be tough when shooting warblers that are literally flitting around within the trees. If that’s the case, then choose narrower apertures like f/11 or f/14 to take advantage of the framing that plants and other natural elements provide. This style of photography also highlights the habitat a bird relies on. Just keep in mind that shooting with narrow apertures requires ample light, so you can still maintain a high shutter speed to capture these frenetic birds. And keep photo composition in mind (beware of branches and twigs in your photo frame that are immediately behind your subject, or you might end up with a photo of a warbler that looks like it has a stick coming out of its head).
Polishing Your Images in Post-Processing

Post-processing refers to the editing work you do on your photos after you’ve downloaded them from your camera. This is an important polishing step to make your images look the best they can. Adobe Lightroom is perhaps the most commonly used photo-editing software, although other popular choices are Adobe Photoshop, Luminar, and Capture One. These programs all allow you to organize and edit your photos. Many photographers also reach for tools made by the plug-in Topaz, which provides more aggressive sharpening and noise removal.
Working on your photos can provide a great opportunity to reflect on what went well, and what you could improve on next time. More than anything, it’s an opportunity to celebrate that you did indeed successfully find and photograph one of these fidgety yet sublime little birds.
About the Author
Melissa Groo is a wildlife and conservation photographer, a contributing editor to Audubon magazine, and a columnist for Outdoor Photographer magazine. She is also the instructor for the bird photography online course offered by the Cornell Lab’s Bird Academy.
All About Birds
is a free resource
Available for everyone,
funded by donors like you
American Kestrel by Blair Dudeck / Macaulay Library